
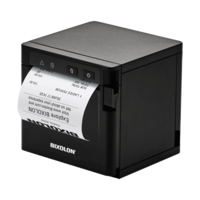
Lavu POS Compatible Epson TM-M30III Thermal Receipt Printer Black Ethernet
Network Compatible with Lavu POS - Optional WIFI Dongle
$415.00
In Stock
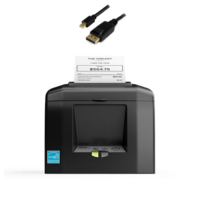
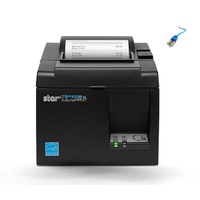
The Epson TM-m30III Thermal Receipt Printer is compatible with Lavu POS and uses 80x80 thermal rolls to print on.
Compatible with Lavu POS via Ethernet (Cable) wth OPTIONAL Wifi dongle for wireless connection (Select from the dropdown list)
Main Features:
- Colour: Black
- Fast print speed, quickly produce sharp and crisp text, barcodes and logos; speeds up to 300 mm/sec
- Fast, stable network tethering: Wired network communication with iOS® or Android™ mobile device via USB-C connection, at up to 20 Mbps
- Built-in interfaces: USB-A x 2, USB-B, and Ethernet - OPTIONAL Wifi dongle
- Ready for cloud printing and online ordering — Server Direct Print available to retrieve print jobs directly from the cloud
- Fast print speed to quickly produce sharp and crisp text, barcodes and logos - Up to 300 mm/sec speed
- Paper-saving feature to reduce paper usage by up to 49 percent
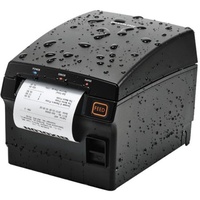
- IPX2-rated enclosure is water-resistant; antimicrobial and easy to clean
- 24 month Return to base limited warranty
- Epson CoverPlus Extended Service Plans available for up to a total of 5 years of continuous coverage
How do you connect the Epson m30III printer to our computer or tablet?
Step 1: Physical Printer Setup (Ethernet Connection)
- Unbox and Power On: Unpack the printer, connect the power cord, and plug it into an electrical outlet.
- Load Paper: Open the printer cover, insert the paper roll, and pull the paper out past the cutter before closing the lid.
- Connect to Network: Plug one end of an Ethernet cable into the printer's LAN port and the other end into your network router. The printer and your Lavu POS device (iPad, etc.) must be on the same network.
- Print a Status Sheet: To get the printer's IP address, turn the printer on. Open the cover, press and hold the Feed button for about three seconds, and then close the cover. A status sheet will print, containing crucial information, including the printer's IP address. You will need this IP address later.
Step 2: Configure the Printer in the Lavu Control Panel
- Log in to the Control Panel: On a computer, go to the Lavu Control Panel at cp.poslavu.com and log in with your credentials.
- Navigate to Printer Settings: In the left-hand menu, go to Settings > Printers/Technical > Printers/KDS.
- Add a New Printer: Click the Add New button.
- Enter Printer Details: Setting: Choose the function of the printer (e.g., "receipt" for a customer receipt printer or "kitchen" for a kitchen printer).
- Name: Give the printer a clear, descriptive name (e.g., "Front Counter Receipt").
- IP Address: Enter the IP address you found on the status sheet.
- Port: The default port for Epson printers is 9100.
- Printer Type: Select the appropriate Epson printer from the list.
- Command Set: For Epson thermal printers, this will typically be Thermal.
- Save: Click the Save button at the bottom of the page to save the new printer profile.
Step 3: Connect to the Printer from the Lavu POS App
- Open the Lavu App: On your iPad or other POS device, open the Lavu app.
- Select Register: Go to Register Functions and tap Select Register.
- Pair the Printer: Find the name of the printer you created in the control panel and tap on it to pair your device.
(Lavu-POS-M30III)
| SKU | Lavu-POS-M30III |
| Brand | Epson |
Be The First To Review This Product!
Help other CompuBox users shop smarter by writing reviews for products you have purchased.


